
Having never been to Zion National Park and less than 24 hours planned in the park, a trip up the Narrows was top of my list (yes above even Angel’s Landing).
Why the narrows?
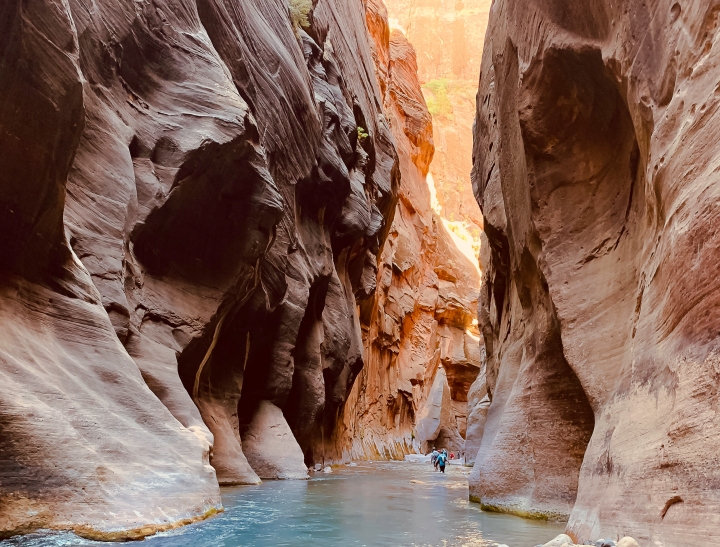
The narrows is one of the most iconic hikes in Zion National Park, and its got something for everyone. Plus, when you’re visiting the national parks in Utah in mid-August and most of the epic hikes you’ve done consisted of trudging through deep red sand and scrambling over boulders in > 90° F weather under the blazing hot sun, a hike that involves wading through southern Utah’s Virgin river sounds pretty ideal.
Hike options
There are 2 directions to hike the narrows: top down or bottom up. Top down is a 16 miler requiring a permit that starts at Chamberlain’s Ranch and ends at the Temple of Sinawava. Many people choose to hike this over 2 days and camp in one of the designated camp sites in the Narrows. While this trip is definitely on my list, Matt and I hadn’t reserved a permit and already had a campsite in Zion. We therefore decided to hike the much more popular out and back from the Temple of Sinawava. The total out and back hike is listed as 10 miles round-trip; however, it can really be as long as you want to make it, and most people choose to turn around after about two miles.
While we didn’t know exactly what to expect, we made sure to do a bit of research prior to our hike, and were well-prepared by the time we started our hike.
See below for my 9 tips for Navigating the Narrows:
9 Tips for Navigating the Narrows
1. Watch the Weather
The Narrows closes when a flash flood warning is issued by the National Weather Service. Keep an eye on the weather and DO NOT plan to hike if flash flooding is possible. Conditions can be found here. The Narrows also closes when the flow rate is too high (>150 cubic feet per second) and is often closed in the spring when the snow is melting. Plan your trip accordingly. While August appears to be an opportune time to complete this hike, it’s still a good idea to check conditions, as higher flow rates and risk of precipitation can quickly turn your trip up the narrows from fun to treacherous.
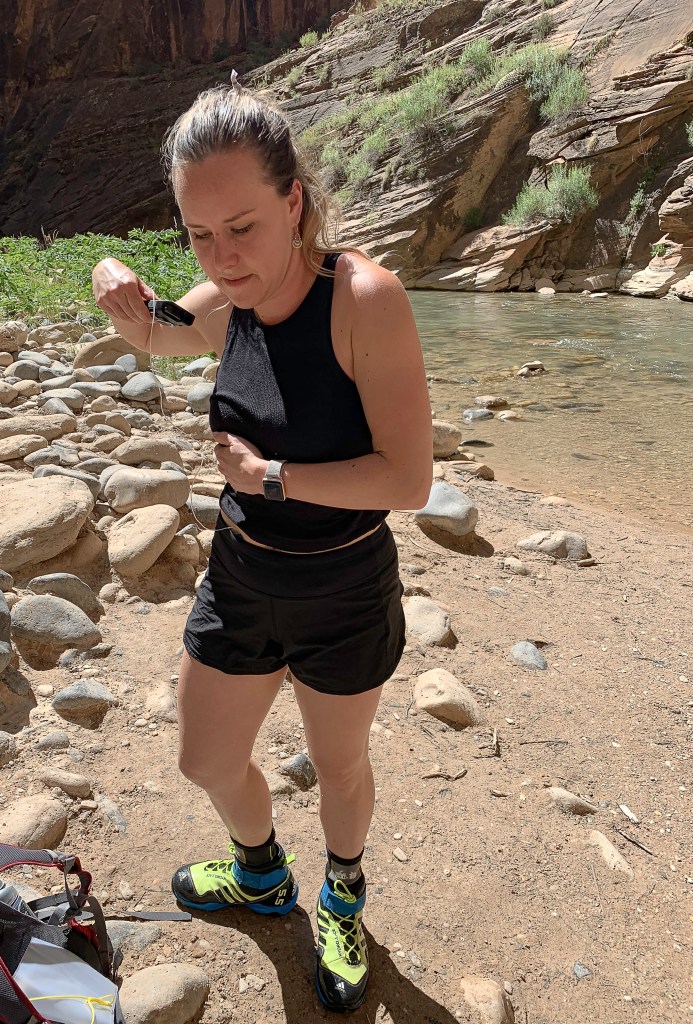
2. Procure Proper Footwear
MOST of the hike is in the water over slippery rocks of varying sizes. I initially thought I would do the hike in my Chacos as they are after all water shoes that have good grip, and thankfully reconsidered (Matt was originally planning on wearing his flip flops). The Parks Service recommends close-toed shoes for good reason. After reading a few reviews on Trip Advisor, I decided to actually rent canyoneering boots from Zion Outfitters as my hiking boots aren’t water proof. The warm weather package included canyoneering boots, neoprene socks, and a walking stick for $25, and both Matt and I agreed afterward that it was well-worth the money. That being said, the trail is definitely doable without canyoneering boots. I would just recommend hiking boots or running shoes.
While I could have completed the hike in my Chacos, it probably would have taken twice as long, I may have rolled an ankle, and probably would have sustained multiple cuts to my feet. In our canyoneering boots, Matt and I sped past many visitors in sandals or running shoes with style and ease. The first few miles aren’t particularly difficult, but as you get farther into the canyon, the water gets deeper and the rocks slicker, and that ankle support makes it much easier to trudge on past where most visitors typically turn back.
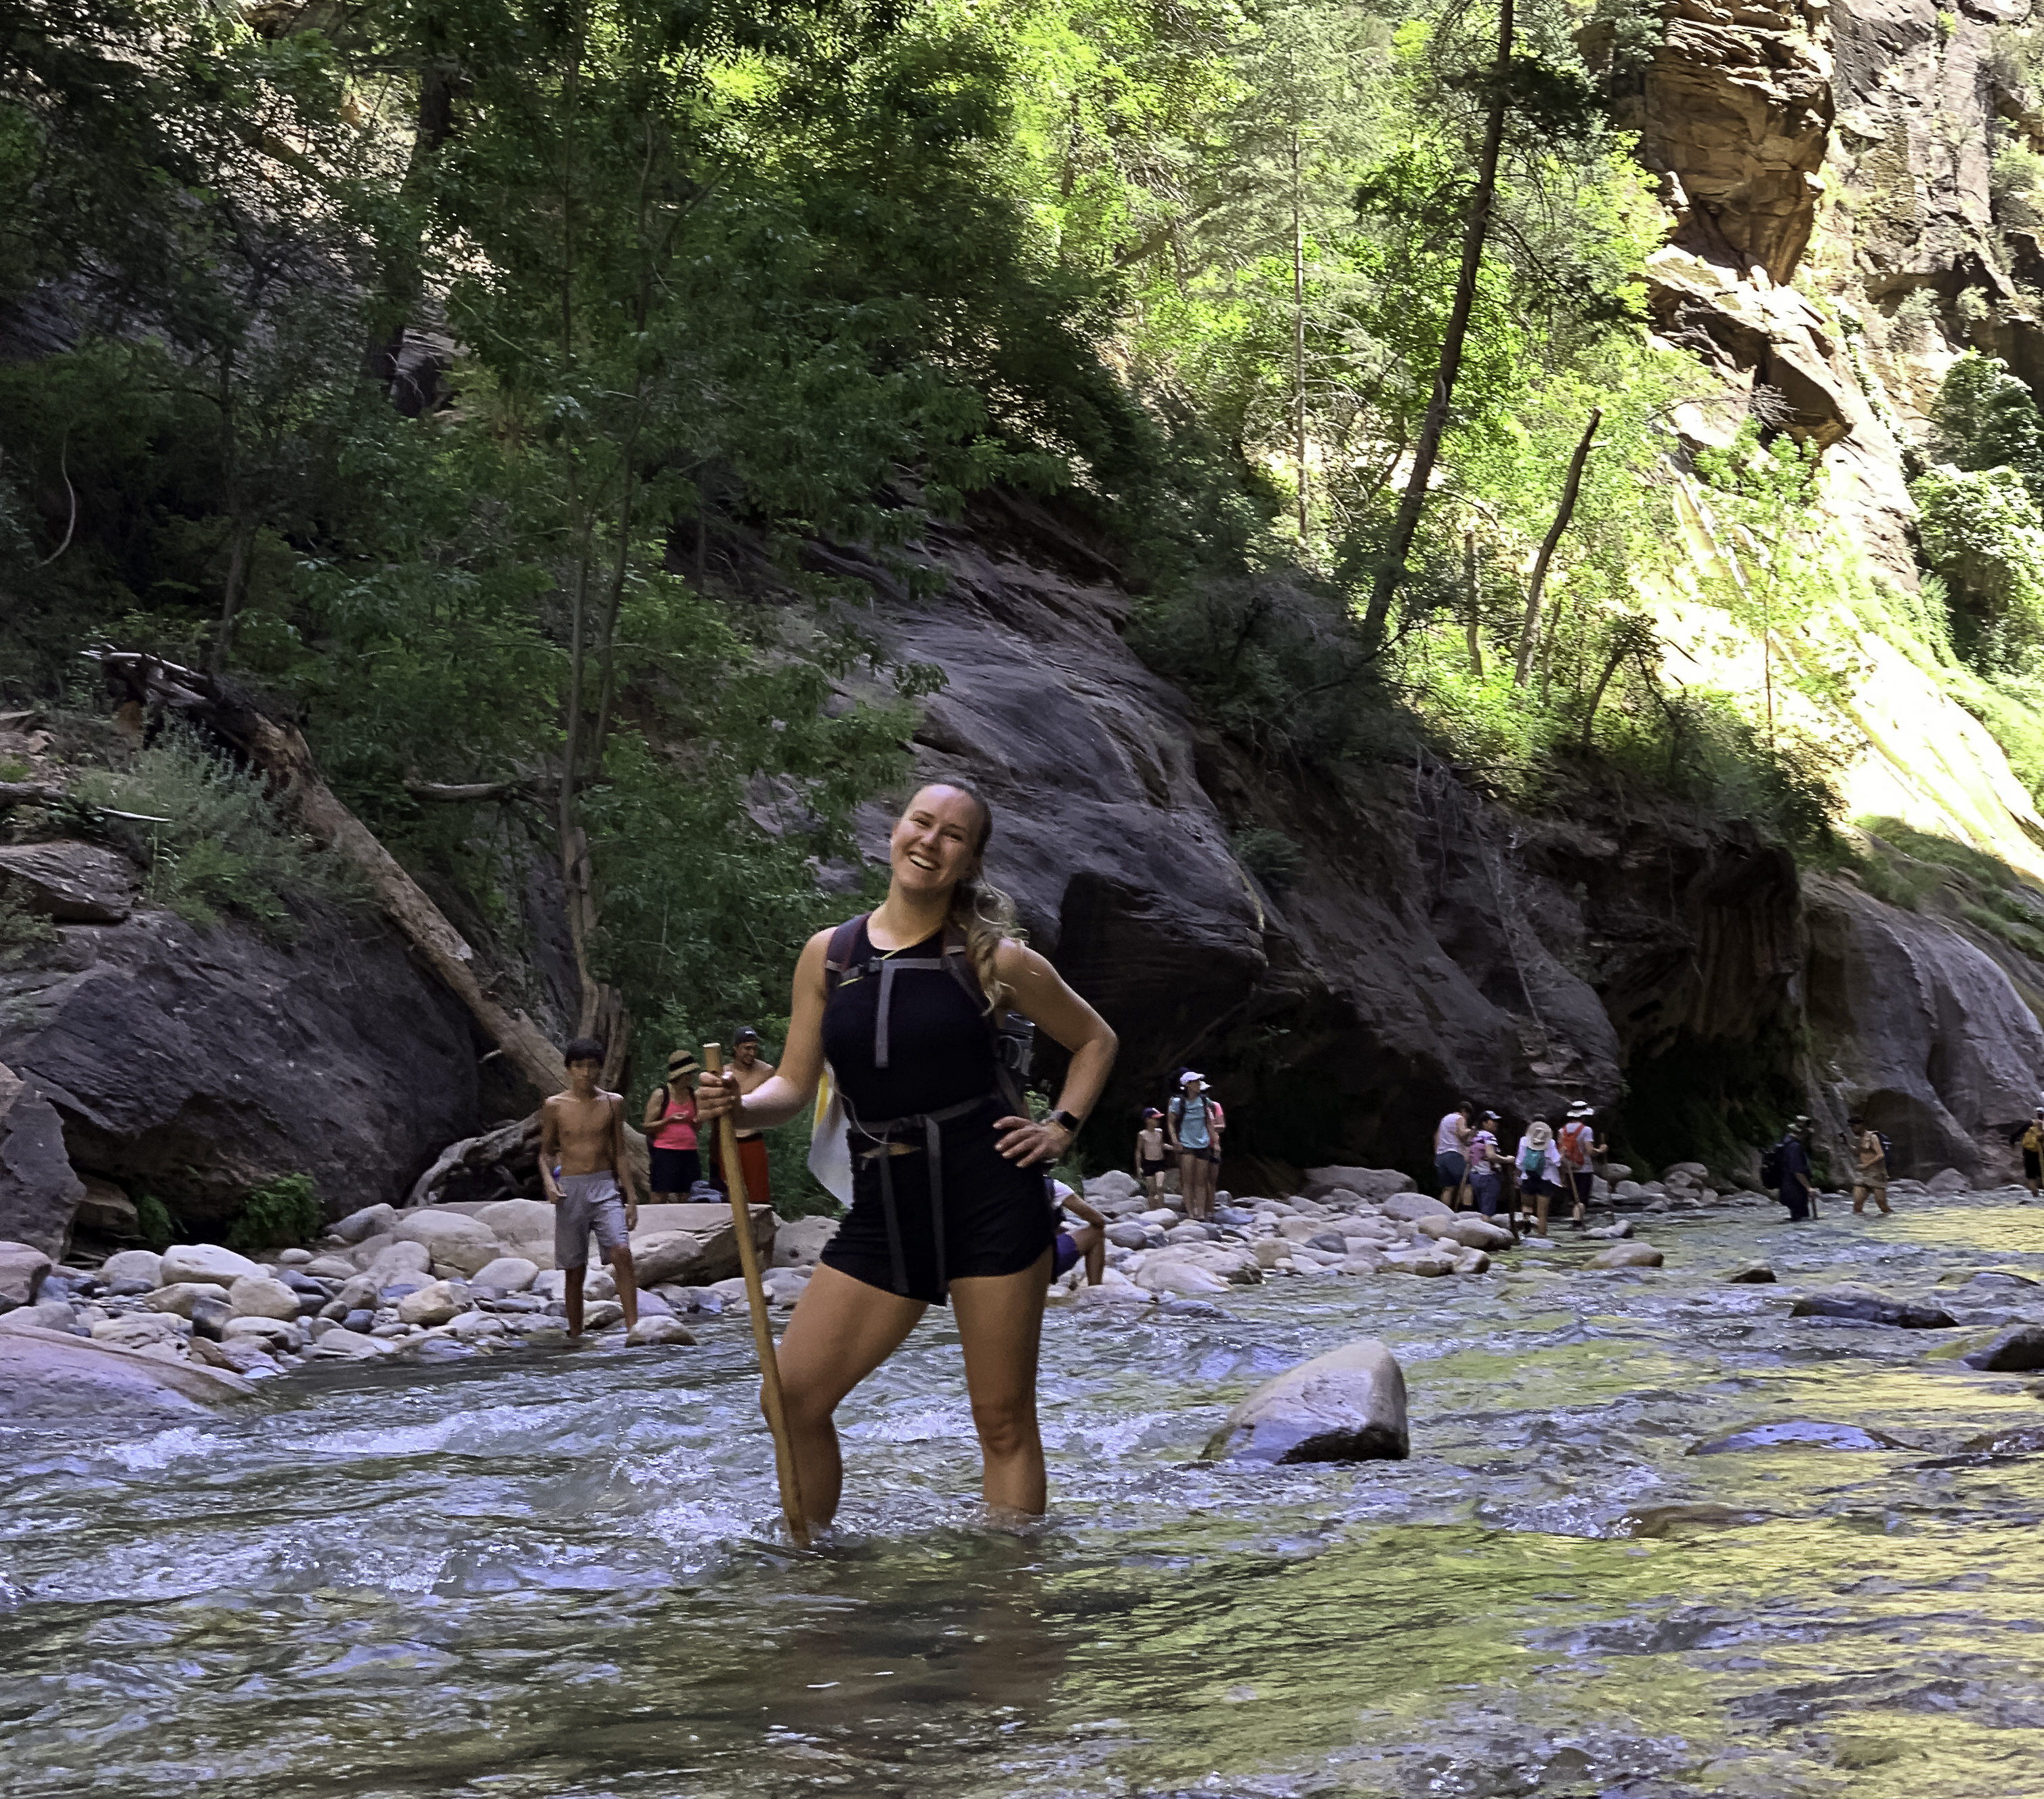
3. Bring a Walking stick or Trekking poles
While not as necessary as a sturdy set of boots, a walking stick can really come in handy on uneven terrain. Again, the hike is ten miles of slick rocks/boulders of varying sizes under water. A walking stick or trekking poles will give you an extra bit of stability and help take some of the pressure out of your knees.
4. Prepare to get wet
Did I mention that most of the hike is in the water? While a few parts of the trail are on the shore, after about two miles in, there are parts of the trail that are just river and towering canyon walls. There are also a few parts of the trail where the water was up to my chest and I had to carry my pack above my head to keep it (mostly) dry.
Make sure everything you carry can get wet. It’s pretty easy to slip and fall in the water especially when the current gets stronger and your legs get tired. For cell phones, I’m a fan of the LifeProof cases, but many of the gear shops in town also carry various dry bags and waterproof cases for phones, which I would recommend if you plan to bring your phone along. I also saw multiple people hiking into the narrows with their DSLR cameras, but I was way too nervous to bring my Canon with me, and am thankful that I didn’t as it would have gotten wet. That being said, I did not see a single person with a DSLR past mile 3 of the hike. I kept my insulin pump clipped to my sports bra and managed to keep it dry enough, but it might have been more of a concern if I was hiking during one of the higher water seasons.
5. Venture Beyond (ie keep going)
As I mentioned above, most people don’t make it very far into the canyon. The hike is one of the busiest in the park, but only for the first 2 miles or so. Past mile 2, the crowds start to thin, and past mile 3 we ended up having parts of the trail to ourselves. Once we ventured beyond mile 4 we actually didn’t see a soul. So, keep hiking and you may have the trail to yourself for a bit. In order to see Wall Street (the most famous narrow section with towering walls section), you must hike at least 3 miles in (6 miles roundtrip).
It’s hard work hiking through water, and takes much longer than you think. Even with our gear, our pace ended up being about 2 miles per hour including photography and snack stops and we were moving quite a bit faster than many other folks.
6. Bring Snacks
This is a given if you have type 1 diabetes (like me), but really it’s a good idea for everyone to bring snacks. I wasn’t expecting to be as tired as I was hiking in water. Breaks to snack on bars were helpful in keeping my energy levels up and preventing hypoglycemia. I’m a fan of honey stinger gels for hypos and cliff bars for mid-hike snacks. While there are spots to post up and make a sandwich, it was easier to rely on bars, which had the added benefit of not getting soggy if exposed to water.
7. Hydration
It’s easy to get dehydrated in the desert in the summer, even when you’re hiking in cool water. I may not have consumed enough water as I ended the evening with a pounding headache (not fun). Bring at least 3 liters of water if you’re planning to hike the whole 10 miles. Oh and remember to actually drink water as you go. Hydration packs like those made by Platypus or Camelbak are really great options for staying hydrated on any hike.
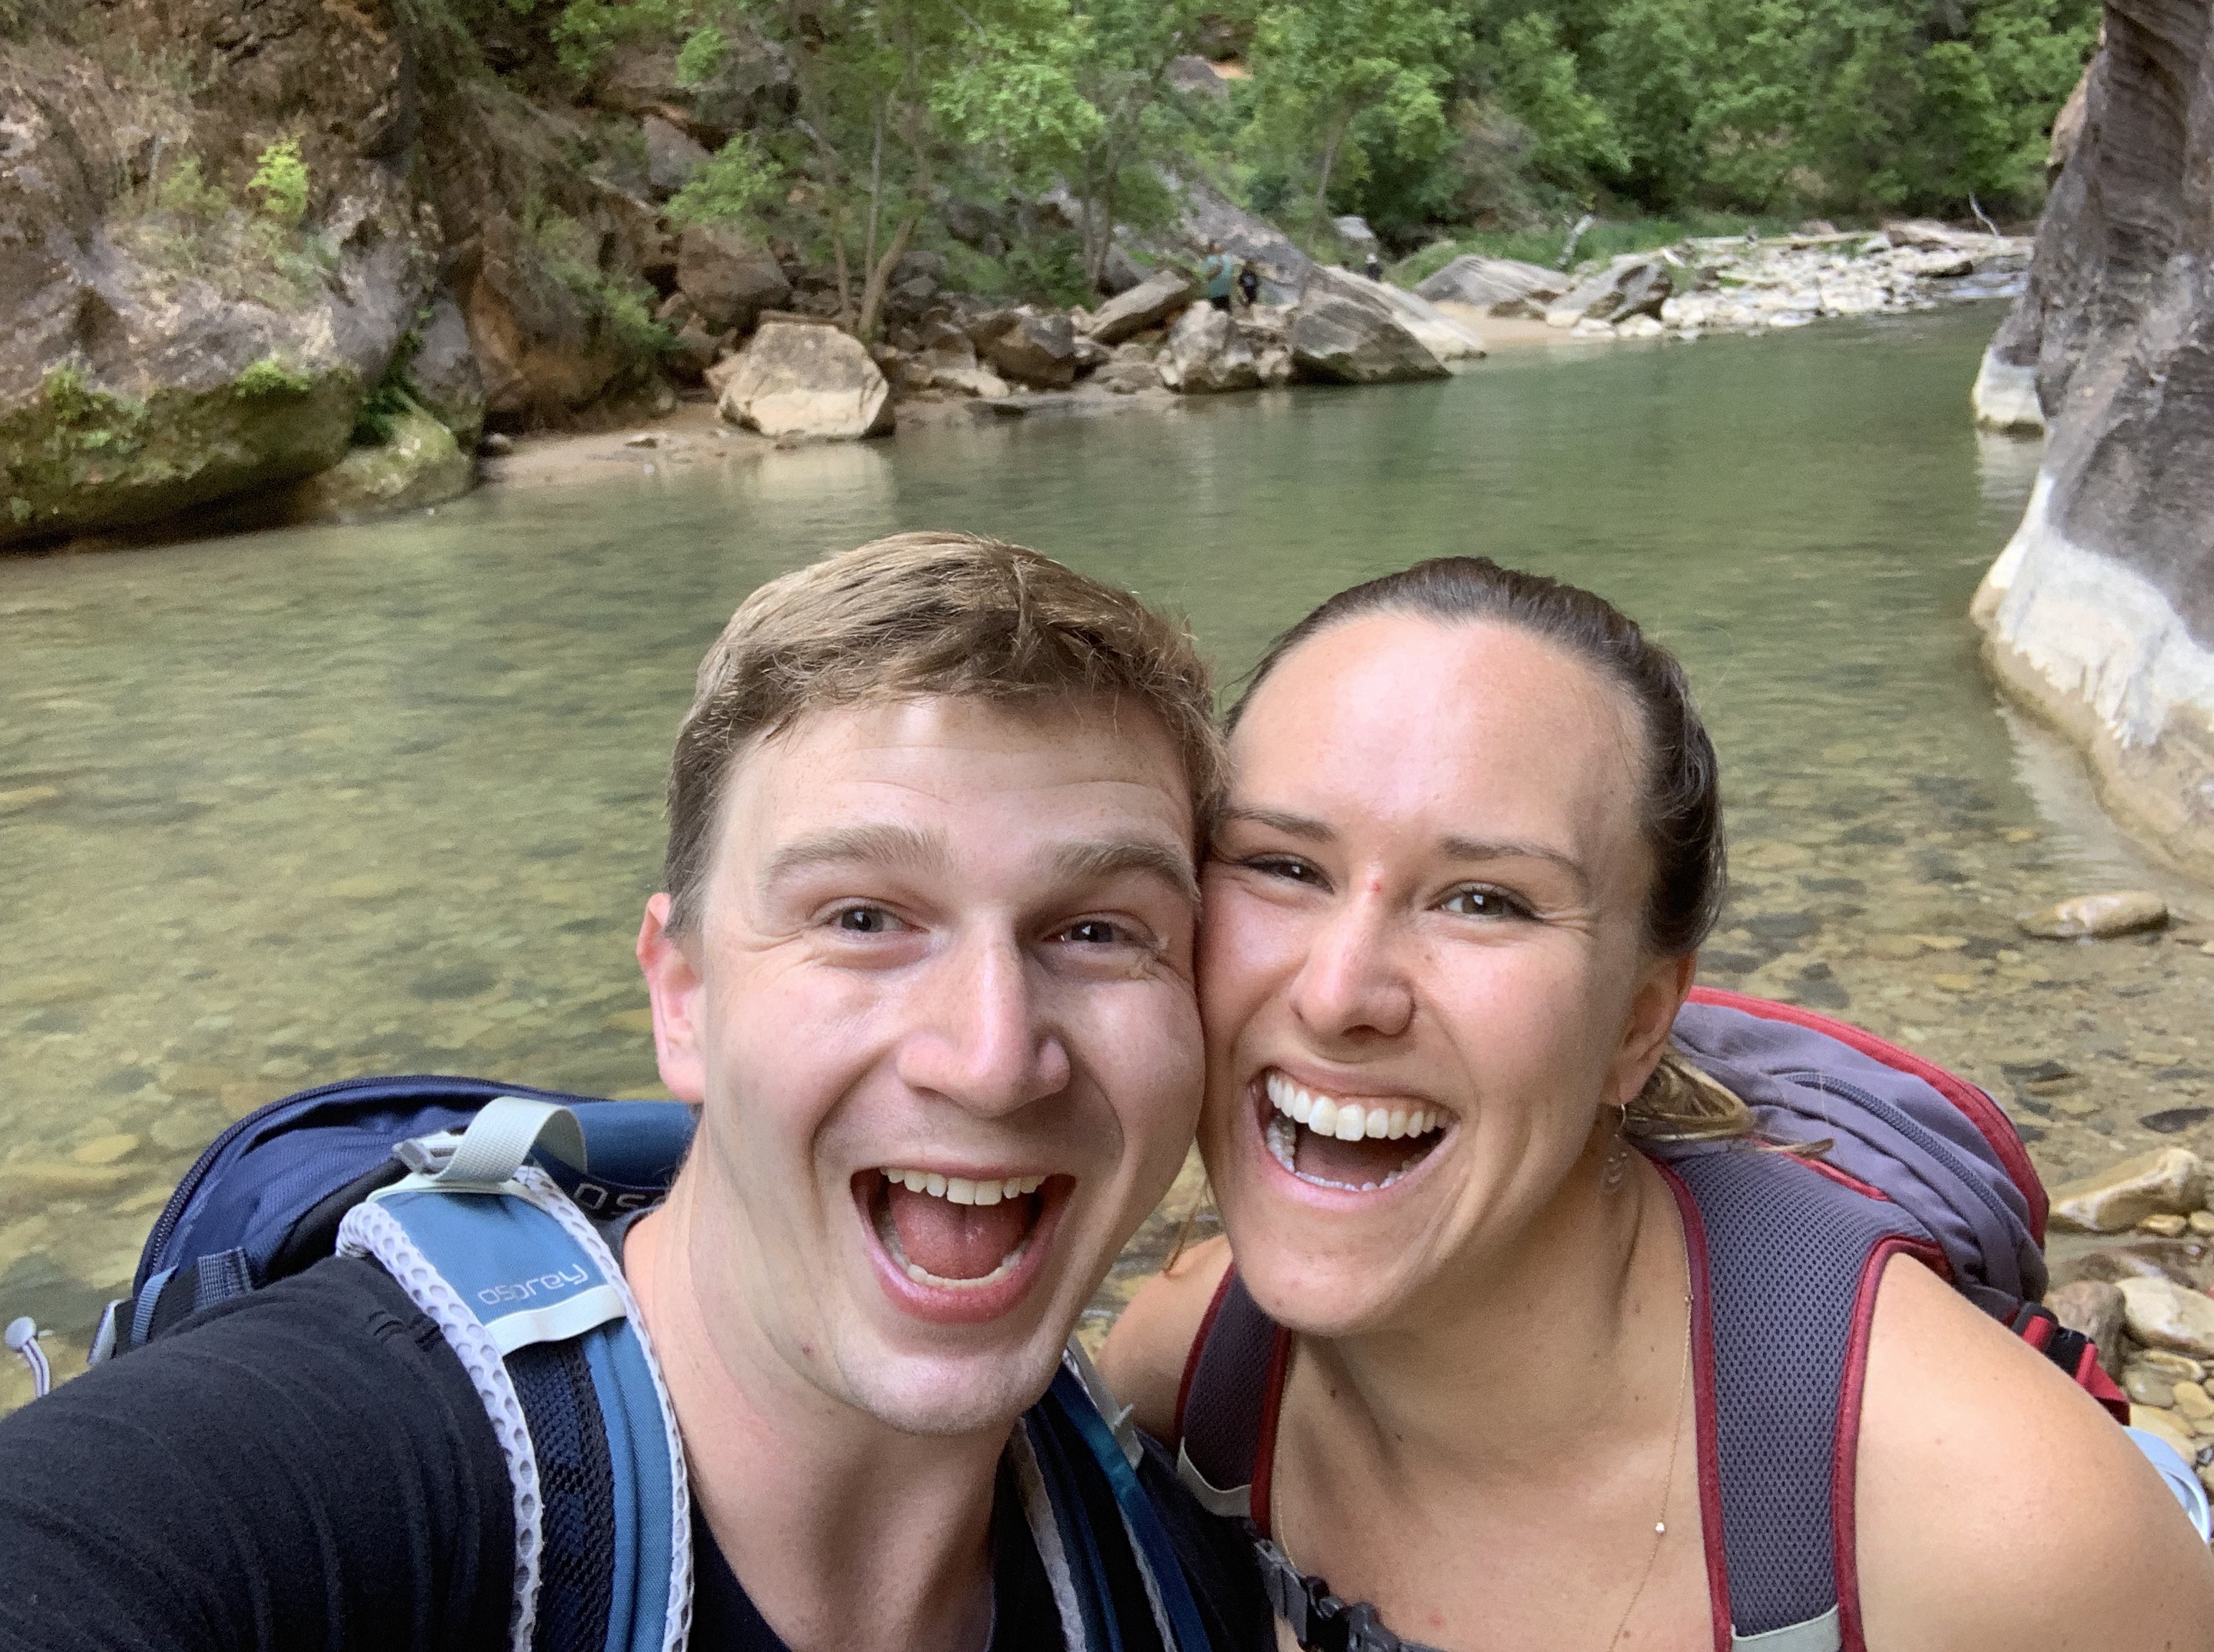
8. Bring a Buddy or Don’t
While this is definitely a hike I would feel comfortable doing on my own, it’s always more fun with a friend. If you do decide to head out on your own, make sure to let someone know where you are headed and when to get concerned if they don’t hear from you.
9. Sunscreen
The sun is strong in the summer, and spending a couple hours hiking in water under the sun requires good sun protection. Make sure to apply a good waterproof sunscreen and a hat is recommended for extra protection. Nothing like a nasty sunburn to ruin a fun vacation.
Most Importantly Have Fun!
For more Information Check out:
The National Parks Service Site
National Water Information System for Virgin River Flow Rates

One thought on “Navigating the Narrows”